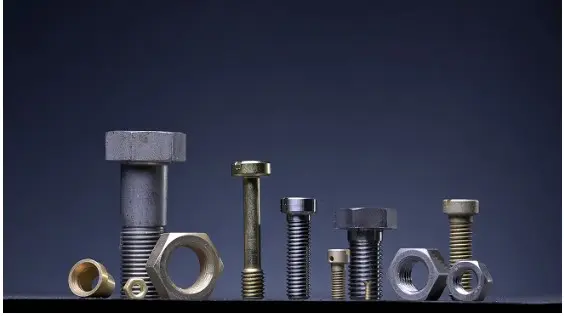
Fasteners are one of the most inconspicuous but critically important elements of any construction. A bolt, screw, or stud depends not only on the reliability of the connection, but also on the safety of equipment, the stability of metal structures, and the service life of engineering systems. Therefore, serious production sites implement multi-stage quality control, which allows you to cut off any deviations even before the product reaches the customer. Vector company clearly demonstrates that the modern approach to inspections is not a formality, but a full—fledged system covering every stage of fastener manufacturing.
A multi—stage inspection is not a single final inspection, but a whole chain of successive inspections. Each of them is aimed at identifying specific defects: from incorrect chemical composition of steel to microscopic inconsistencies in geometry. This approach ensures stable quality and allows fasteners to be used at critical facilities where the cost of error may be too high.
1. Input control of raw materials
Any fastener starts with steel, and it is its quality that determines the future characteristics of the product. Check at the entrance:
-
Chemical composition of the metal,
-
Compliance with the requirements of GOST and OST,
-
Availability of certificates from the supplier,
-
The cleanliness and structure of the surface.
If the steel does not meet the requirements, the batch is returned. This allows you to eliminate problems even before the hardware is started.
2. Control during the manufacturing process
On turning, tapping and cold-setting machines, it is mandatory to measure:
-
Thread diameter and pitch,
-
Rod length and head size,
-
The depth of the grooves and chamfers,
-
Profile compliance with the standard.
Measurements are carried out both manually (micrometers, templates, thread meters) and using automated control systems. This helps to identify tool wear, feed failures, and other manufacturing deviations in time.
3. Thermal control
For fasteners that have been hardened, tempered or cemented, a separate series of checks is carried out.:
-
Hardness measurement (according to Rockwell, Brinell or Vickers),
-
Checking the metal structure,
-
Assessment of the depth of the hardened layer,
-
Determination of the uniformity of heat treatment.
An incorrectly selected heat treatment mode instantly reduces the strength of the product. Therefore, this stage is considered one of the key ones.
4. Mechanical testing
Each batch of fasteners undergoes random checks at special stands. Products are tested:
-
On the gap,
-
On the bend,
-
On


